
LED light face masks are one of the most exciting beauty tools you can use at home. They’re safe, easy, and help with everything from spots and redness to fine lines and dull skin. But if you’ve just bought one (or are thinking about it), you might be wondering: how do I actually use an LED face mask?
Don’t worry – we’ve got you covered. This guide will walk you through exactly how to use an LED light face mask, step by step, so you get the best results.
🌈 What Is an LED Light Face Mask?
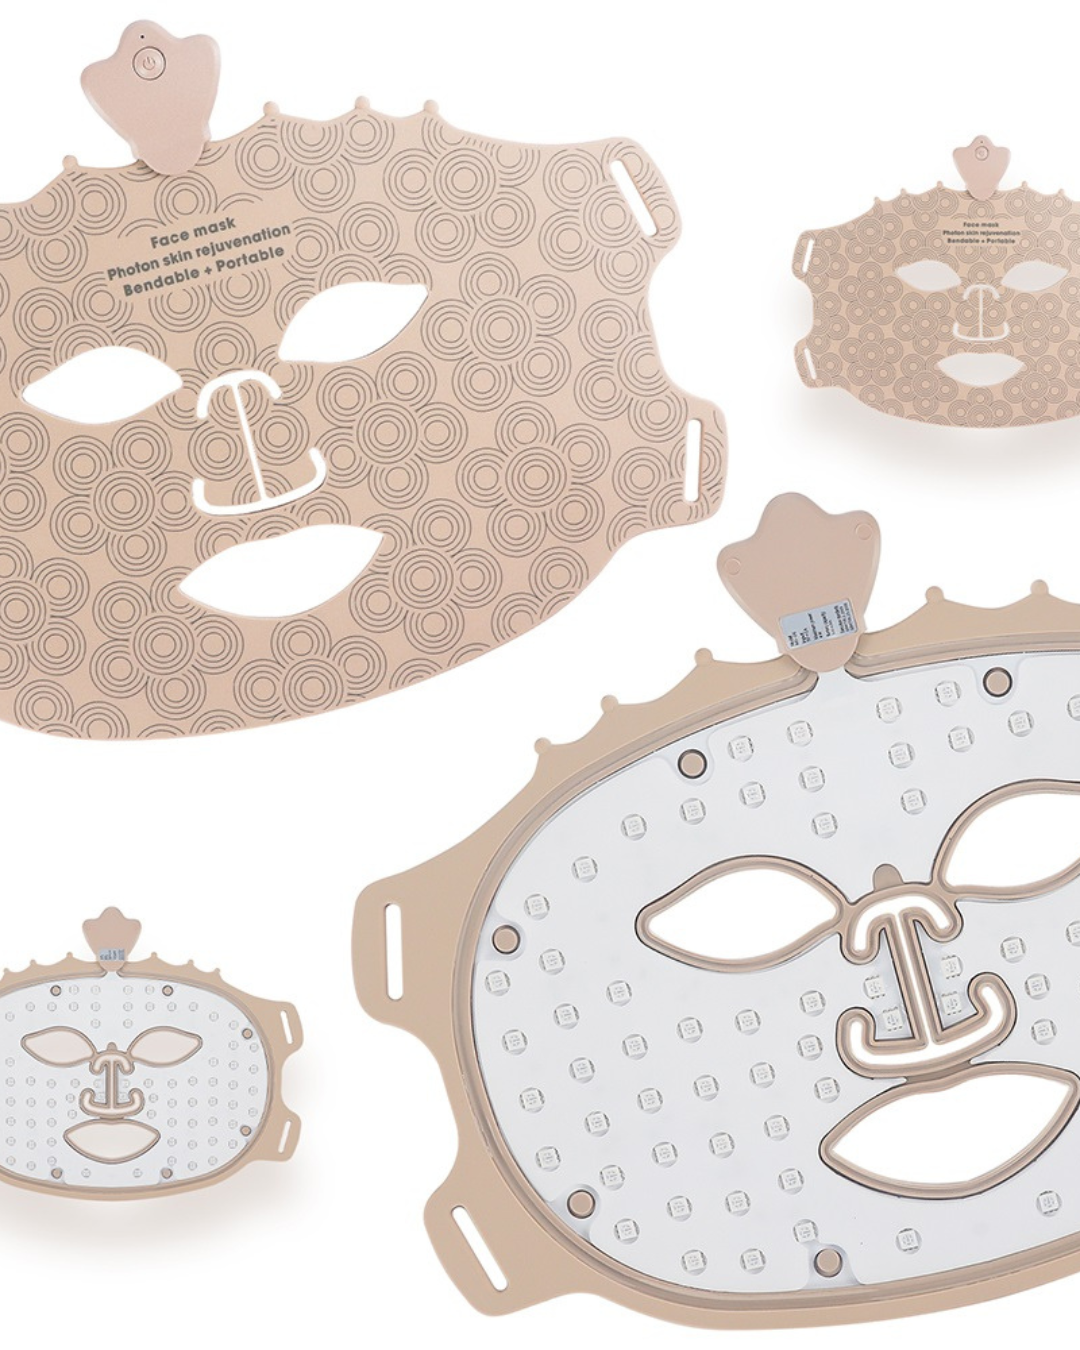
An LED face mask is a mask you wear on your face that shines different colours of light onto your skin. Each colour helps with different skin problems:
-
Red light: Helps with fine lines, wrinkles, and boosts collagen
-
Blue light: Kills the bacteria that causes spots and acne
-
Green, yellow and purple lights: Help with redness, uneven skin tone, and dullness
You don’t feel any heat or pain – just a relaxing glow!
🧴 How to Use an LED Light Face Mask (Step by Step)
1. Wash Your Face
Start by washing your face with a gentle cleanser to remove makeup, dirt and oil. Clean skin helps the light work better.
2. Dry Your Skin
Pat your skin dry with a clean towel. Your skin should be completely dry before using the mask.
3. Apply a Light Serum (Optional)
You can use a light, water-based serum like hyaluronic acid if your mask allows it. Avoid strong ingredients like:
-
Retinol
-
Vitamin C
-
Acids (like glycolic or salicylic acid)
Check your mask’s instructions before applying any products.
4. Put On the Mask
Place the LED mask on your face and turn it on. Most masks have different settings – choose the one that suits your skin:
-
Red light for ageing and glow
-
Blue light for spots and acne
-
Green or yellow light for redness or dark spots
Most sessions last 10 to 20 minutes. Your mask might come with a timer or automatic shut-off.
5. Relax!
Now’s the fun part – just sit back and relax while the mask does its job. Some people like to listen to music or read while they wear it.
6. Remove the Mask and Apply Moisturiser
Once the timer goes off, take the mask off. Apply your usual moisturiser to lock in hydration. If you used your mask in the morning, don’t forget to put on SPF too.
🗓️ How Often Should You Use an LED Mask?
For beginners:
-
Start with 3 times a week
-
Use it for 10–20 minutes per session
-
Be consistent – it can take a few weeks to see a difference
Stick to your routine and you’ll start to notice clearer, brighter, and smoother skin.
⚠️ Quick Safety Tips
-
Always follow your mask’s instructions
-
Don’t stare directly into the lights – wear goggles if provided
-
If you’re pregnant, taking certain medications, or have a skin condition, check with your doctor first
-
Wipe the mask clean after each use
✨ Final Thoughts: Easy Skincare with Big Results
Using an LED light face mask is a great way to boost your skincare routine. It’s gentle, effective, and gives you a spa-like treatment at home – no need to book an appointment.
Just clean your skin, pop on the mask, relax, and moisturise afterwards. Do it a few times a week, and you’ll be on your way to healthier, glowing skin in no time.

Leave a comment
This site is protected by hCaptcha and the hCaptcha Privacy Policy and Terms of Service apply.